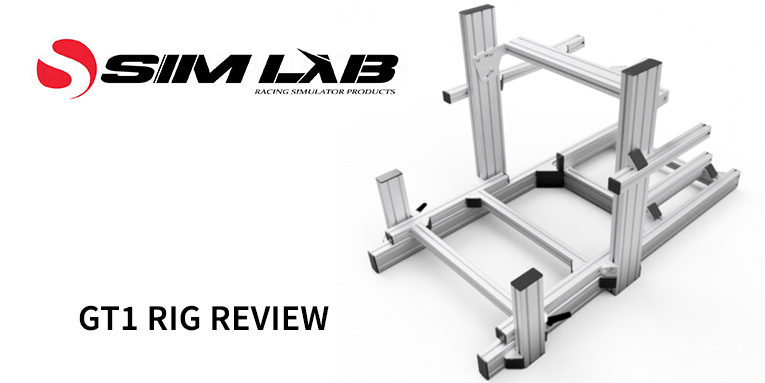
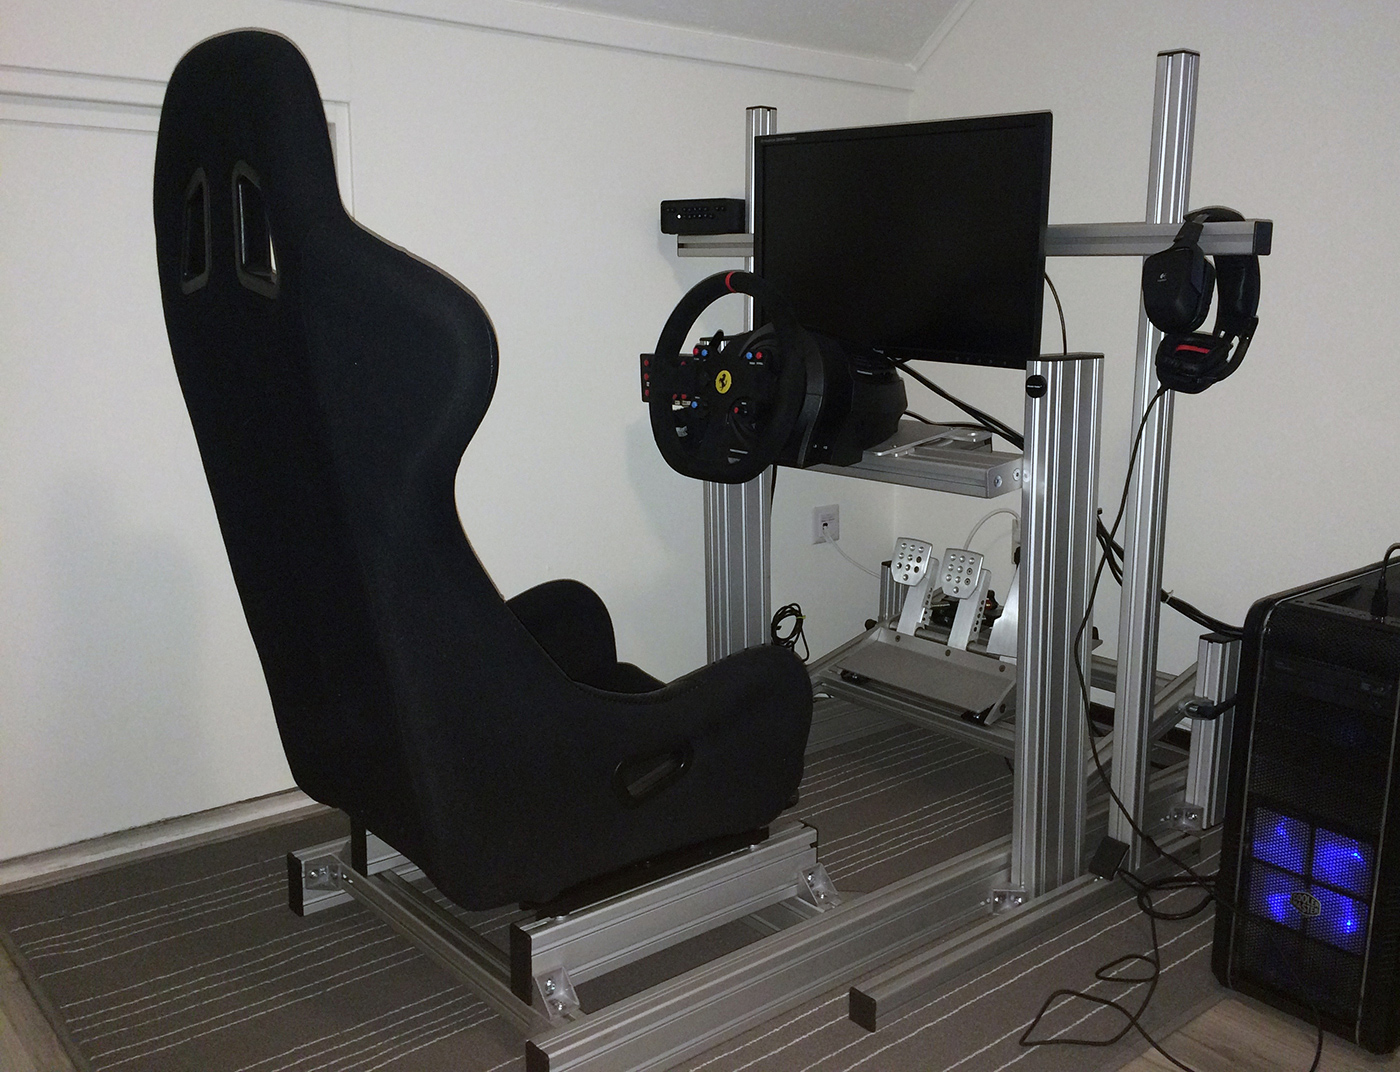
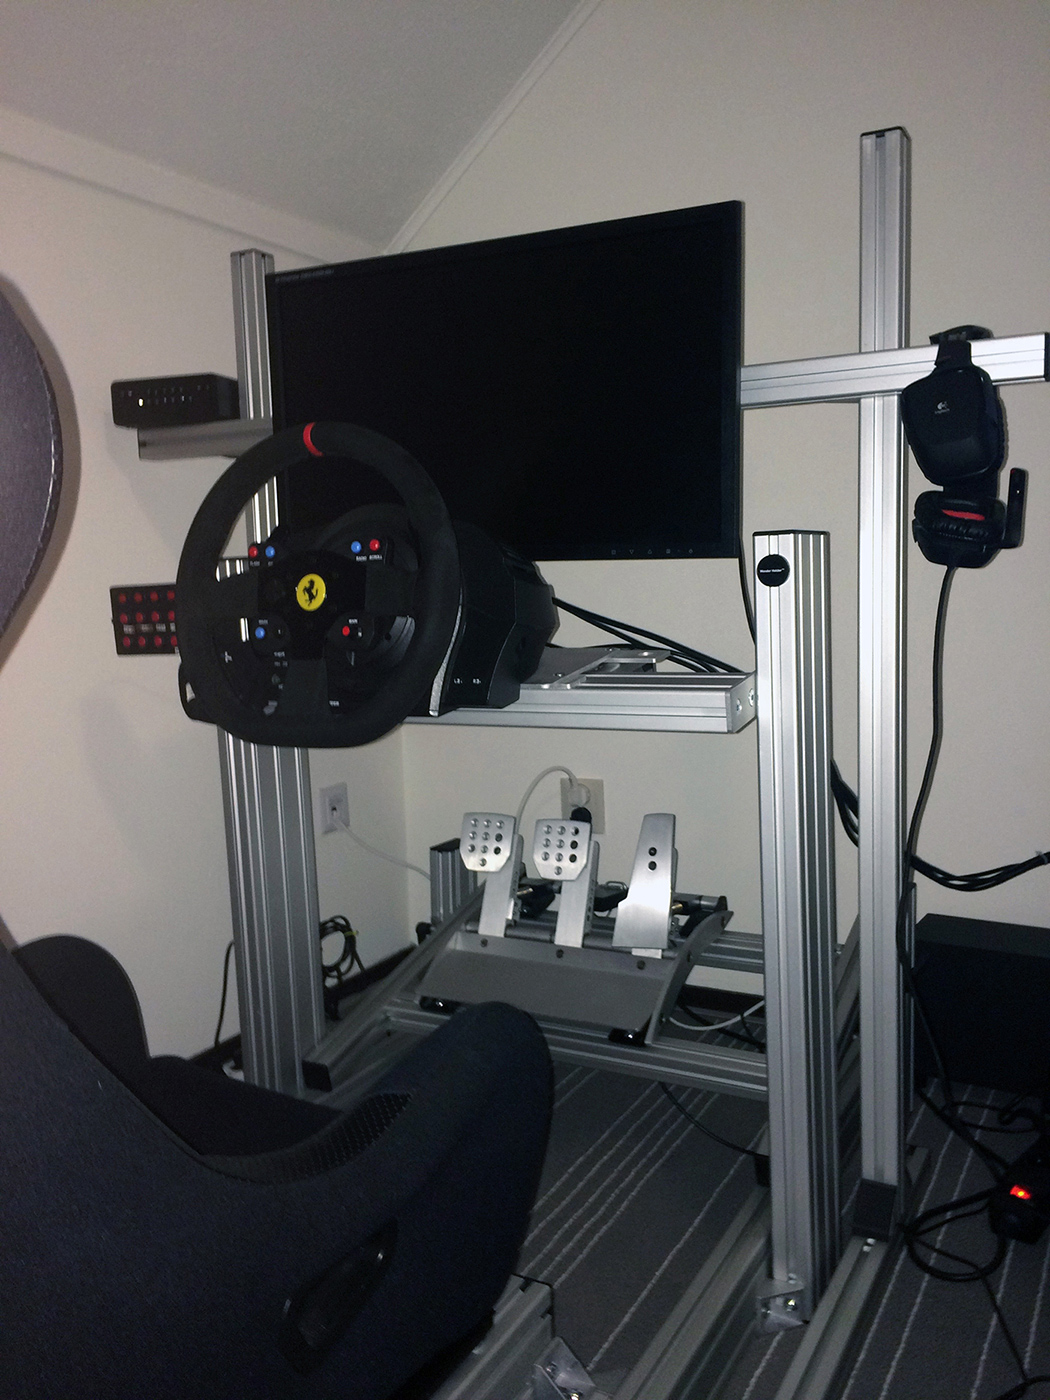
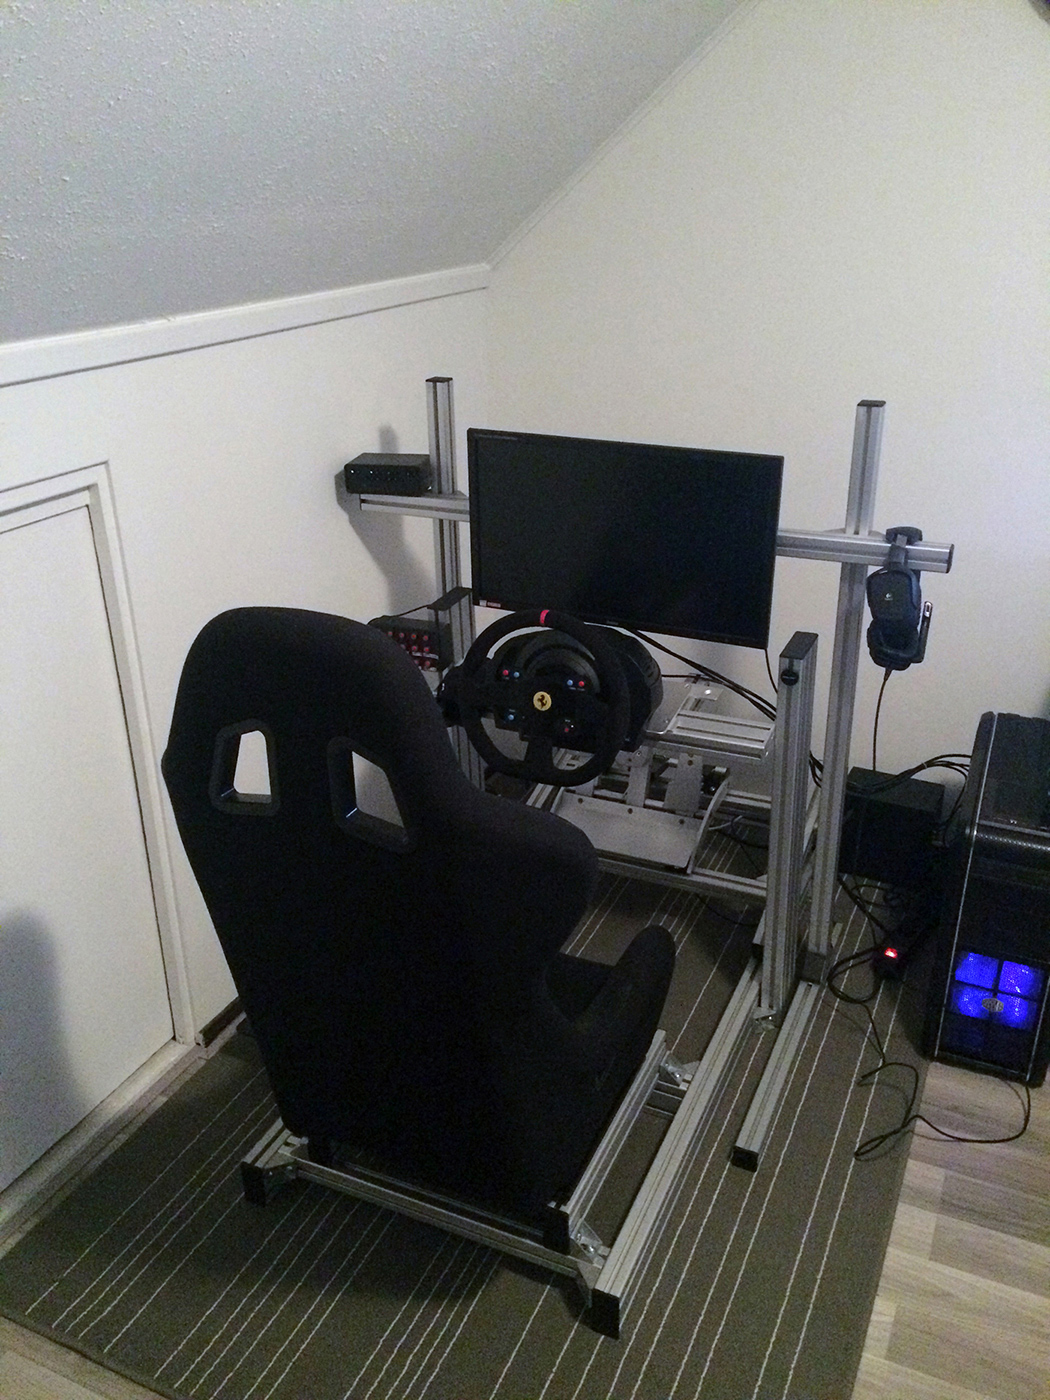
The GT1 rig by Sim-Lab is a great sim 80/20 profile rig. The rig is very strong. While driving there is no flex. Because it’s an 80/20 profile rig it is very customizable. Every part can be moved forwards, backwards, left, and right for your perfect seating position. Building the rig is not difficult, but you’ll need look at the schematics carefully to make sure all the pieces are in the correct place.
The rig comes with a price though. The GT1 rig costs €479 (excluding shipping). Sim-Lab also has a lower entry rig (GT-Cup), which starts at €349 (excluding shipping). Though the price might be steep, it is a solid investment. It’s very likely the rig will be standing in my man cave for the next couple of years. The customer service is very good at Sim-Lab. Though Richard Schouteren runs this all on his own, but that doesn’t stop him to take the time to solve problems or answer questions you might have.
Specifications GT1 rig
- Aluminum profiles and mounting materials
- Base frame consists of 40×80 mm profiles
- Steering wheel uprights 40 x 120 mm profiles
- Aluminum profile type: Item 40 mm slot 8
- GT1 chassis dimensions: 1400 mm x 630 mm (length x width outer dimensions)
- Steering wheel height adjustability: 0 – 700 mm
- Suitable for +200cm body length
Not included:
- Seat
- Mounting plates
Building
Before building this rig, I have never worked with 80/20 profiles before. When I received all the parts it took a (short) while to figure out how to get the nuts into the aluminum profiles. It was much easier than expected and with that figured out, building the rig was easy.
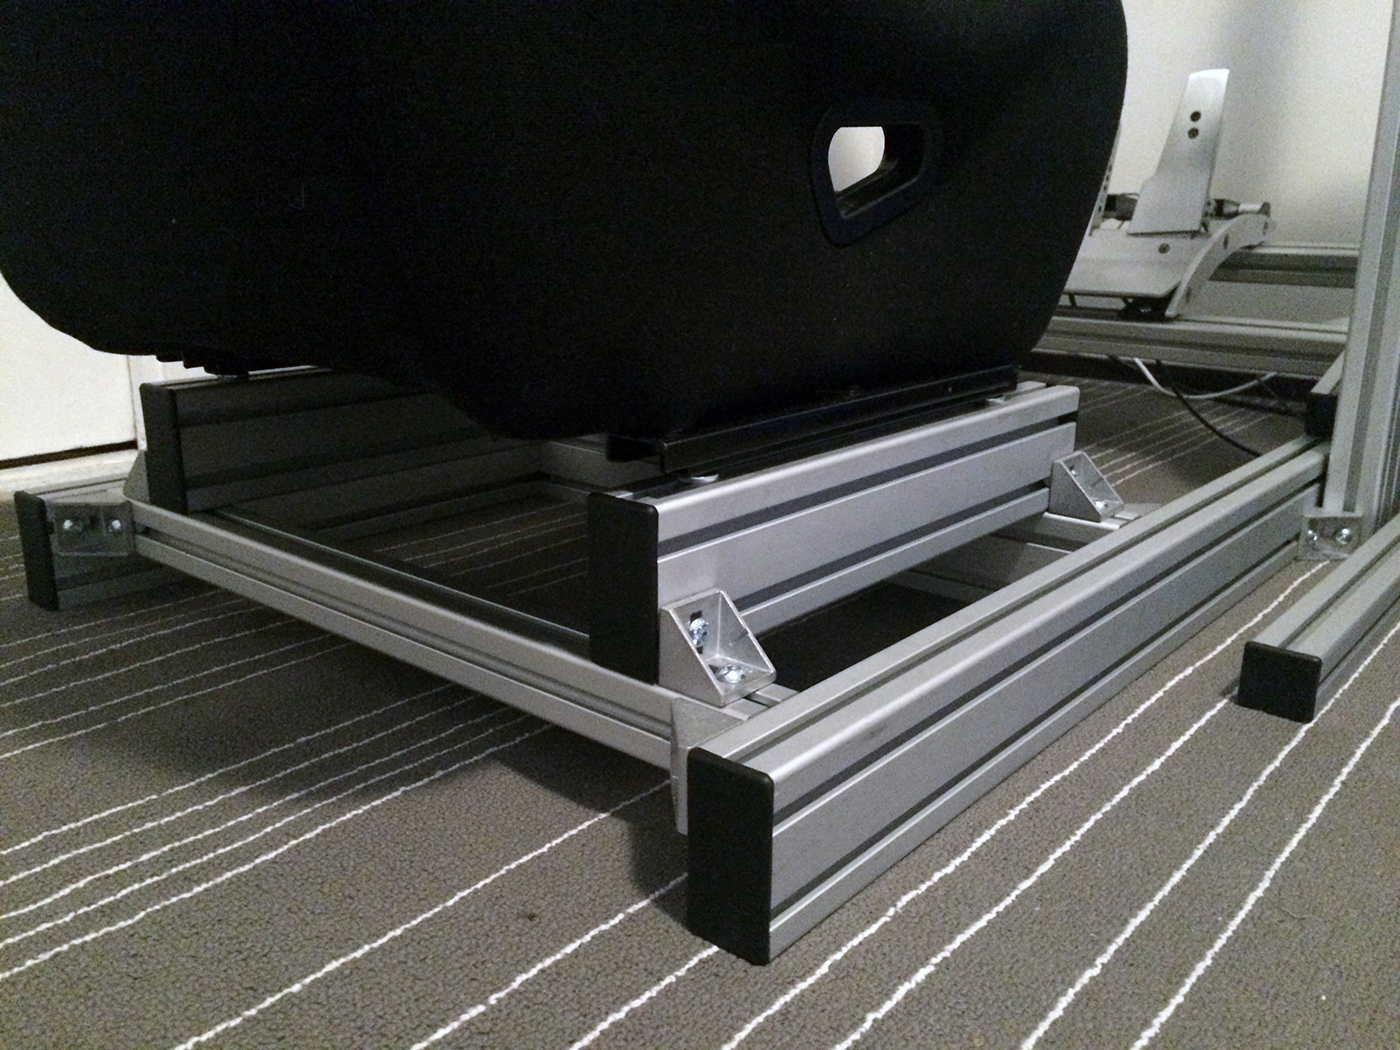
Sim-Lab has schematics available for reference. It does help a lot, but it would make it even better when more angles are covered. Especially when mounting the pedal deck and the front of the seat deck, I had some troubles where to place the connector brackets. I used the pictures on the website as a reference as well.


In total, it took about two evenings to build the rig itself. Then you’ll have to start adjusting the pedals, the wheel, and the seat to your liking. This can take days, weeks, maybe even months. It’s important you take your time and be critical. Having the pedal deck a couple of centimeter too close and you’ll end up with a painful knee, because your legs bending too much.
Experience so far
At the time of writing this piece, I have been using the rig for about two months now and I absolutely love it. 80/20 profiles are so versatile and you can expand the rig any way you like. It’s like Lego for grown-ups. You can extend the rig yourself or you can buy ready to go accessories at Sim-Lab. E.g. a mouse pad, keyboard tray, various mounting plates for various products, and much more.
The strength of the rig is amazing. It is very sturdy. When driving there is no flex at all in the rig. Now I am away from my desk setup, I can finally save for high-end pedals (*cough*Heusinkveld Pedals*cough*).
It took a little while to get the seating position just right. Once it’s dialed down, it’s very comfortable and can drive multiple stints without any physical problems. Because there is no seat included, you can pick any seat you like. From racing seat to a comfortable, and adjustable, seat from any regular road car.
Pros and Cons
Pro
- Strong and rigid
- Looks impressive when you walk into the room
- Adjustability
- Customer service is great and personal
Cons
- Price (you may have to buy a seat as well)
- A more extensive building instructions would help people who are new to 80/20 profiles
Conclusion
If you are looking to upgrade your sim rig to something strong and versatile, then 80/20 profile is something for you. You can draw a rig yourself and order the parts, but you can also buy a solid rig from Sim-Lab.
The GT1 rig is a very solid rig with endless adjustment possibilities. Building the rig is easy, once you understand how 80/20 profiles work.
So, if you are considering 80/20 profile rig, check out Sim-Lab for one of its sim rigs or any other sim racing related products.